A few years ago, I wrote the following blog, which helped pull out information from ConnectWise (CW) into Power BI. Over the last year, there have been a few issues with regard to CW adding in additional criteria, such as the Client ID tag, along with maintaining the Authorization.
Having to add the Client ID wasn’t difficult, but the other problem I ran into was having to loop through the 1000 records at a time to pull back information for items such as Time or Tickets. To see trending year over year, we needed the entire table, or at least a lot of more than the 1000 records.
After manually refreshing the reports for the past year, every morning, we continued to search for a better solution. We contacted CW and for a monthly fee, we could connect directly to the database. This could be a good approach, but the API is free!! After additional research, we found a secondary API call through CW, which is ConnectWise Web Report URL Creator.
Login
First, we need to create a new Integrator Login in CW. This is done by an Administrator in the System/Setup Tables/Integator Login. Once the user is created, please ensure the user has the API Name Reporting selected. This is the only API the user would need access.
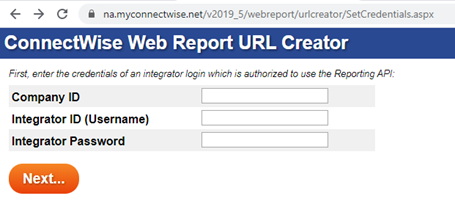
Now that you have your username/password to log in, you can connect to the Web Report URL Creator:
https://na.myconnectwise.net/v2019_5/webreport/urlcreator/SetCredentials.aspx
(please note the version may change and to get the latest, you may have to review the ConnectWise Developer site)
** this is potentially one flaw in this process, but if you setup your Power BI reports correctly, it might be a single change to a parameter and a re-publish.
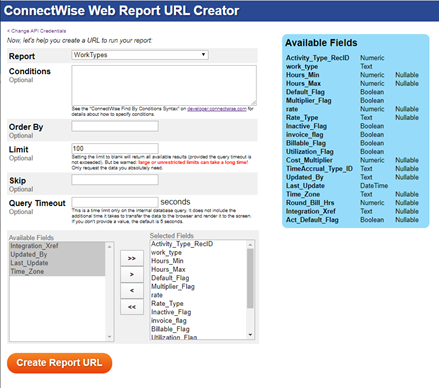
Once logged in, you should see the following screen below…
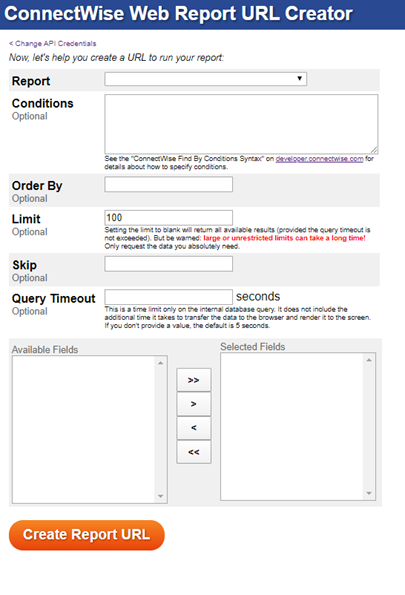
There are multiple criteria that can be utilized when extracting the data from CW. As we see, we can put in Conditions, Limits, Skip, Order By and Query Timeout. For this example, I will pull in a smaller table, so I can keep the limit and Query Timeout as defaults, however, for large datasets, like Time or Tickets, you will most likely want to add Conditions, but also potentially remove the Limit and add a Timeout of 500 seconds.
For building the URL, you will select the Report you want to pull back. Once you select, the Available Fields are populated and at this time, you can select and move the fields to the Select Fields section. Once you have the selected fields, click Create Report URL
Once clicked, you get the following, which can be tested in a new window…
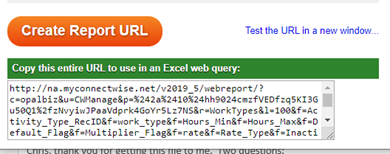
Now that we have the URL, we can import this into Power BI and start to analyze the data (with some cleanup).
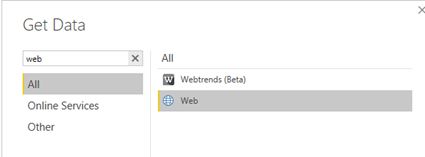
Create a new Power BI report, or utilize an existing report and Get Data. In our case, we are going to get data from the Web.
Once selected and Connect clicked, you get the prompt to enter a basic URL or Advanced. You have the option to split up the URL parts to ensure easier version updates at a later time, but for now, we would just use Basic.
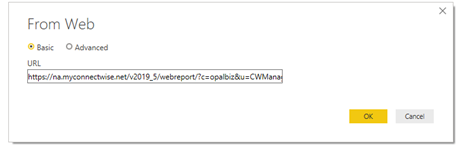
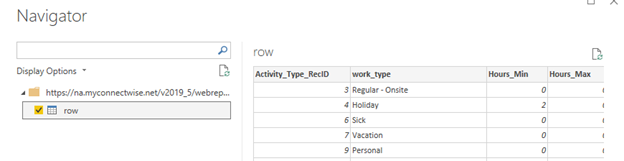
Once we click OK, we get a Navigator pane and we are connected to our data with our selected fields.
Now that you have connected to your ConnectWise data through Power BI, you can once again, start having fun and analyzing your data, but even more importantly, you can also Publish and Auto-refresh the data.
I hope this blog helps anyone who needs to connect to ConnectWise using Power BI; if there are any questions or you need assistance, Opal is here to answer questions and help.
Click here to learn about our custom ConnectWise Power BI reporting packages!